Let’s face it, giving your walls a fresh coat of paint is perhaps the quickest way you can improve on the appearance of your home – or worse, completely ruin it. Anyone can paint a room, but a professionally painted house requires skill and experience. A lot goes into a perfect paint job, including picking the right brushes, correctly selecting the color and paint quality, and applying the correct painting techniques.
Before you grab your tools and begin painting your room, it is essential to work with a plan. Fortunately for you, we have outlined a few tips and tricks to help you paint your house like a pro.
The best home painting job starts with a plan
Like any other project you might want to do, proper preparation determines success. You’ll need to figure out how you want the finished room to look. Remember, you don’t have to limit all your four walls to one color. Depending on your plan, you could have your accent wall in a bold hue or highlight your moldings in a contrasting finish. While on that, find out if your ceiling requires a fresh coat of paint as well.
Pick a color
No one enjoys going through the paint chips unless, of course, you are a five-year-old in a painting class – picking out the perfect shade can be a daunting task.
You need to consider the following before you paint a room:
- Do you want a neutral or saturated shade?
- Do you want a cool or warm look?
- Are you looking to complement your walls with existing furniture and art?
After you are decided on what you are looking for, select a few samples and shades. Test out the shades to feel how they would look in the room at different times of the day. You could also look for companies online with apps that let you upload your rooms’ images and preview different color shades on your walls.
Selecting equipment and materials to paint a room
It is essential to understand that every painting project is unique. Therefore, you will require different tools and materials depending on the conditions of the walls. The following are must-haves:
- Paint
- Paintbrushes
- Paint tray
- Paint rollers
- Paint roller extension pole
- Painter’s tapes
- Drop cloths
- Rags
- Sandpaper
- Putty knife
Before you paint a room; Inspect and clean your walls thoroughly
If you are new to painting, it is easy to overlook inspecting the state of your room walls. What you might not know is, this step determines the overall quality of the project. Painting over a dirty surface will often result in peeling, and your new coat won’t properly bond with the dirty wall.
It is also essential to check your walls for peeling, flaking, or cracks. Scrap, sand, and rinse the surfaces thoroughly. You could use putty in areas with holes and cracks and carefully rinse greasy spots with soap and water.
Cover your furniture and flooring
One of the biggest obstacles to painting a room is moving your art and furniture. While small furniture will be easy to move around, big furniture will be a little bit harder. Your best bet will be to cover them—everything from your dinner table to something tiny as a switchboard.
To avoid damaging your art, furniture, and floor with paint splatter, drip, and sanding dust, it is wise to cover them before you begin painting. Not only will not protecting your furniture make the space look messy, but it will also take a lot of effort to clean after you are done.
Mix the paint
When mixing paint, make sure you are using a paint stick made of wood to stir correctly. Make it a habit to re-stir throughout the project. In case your project requires more than one paint can, combine all the cans in one large bucket.
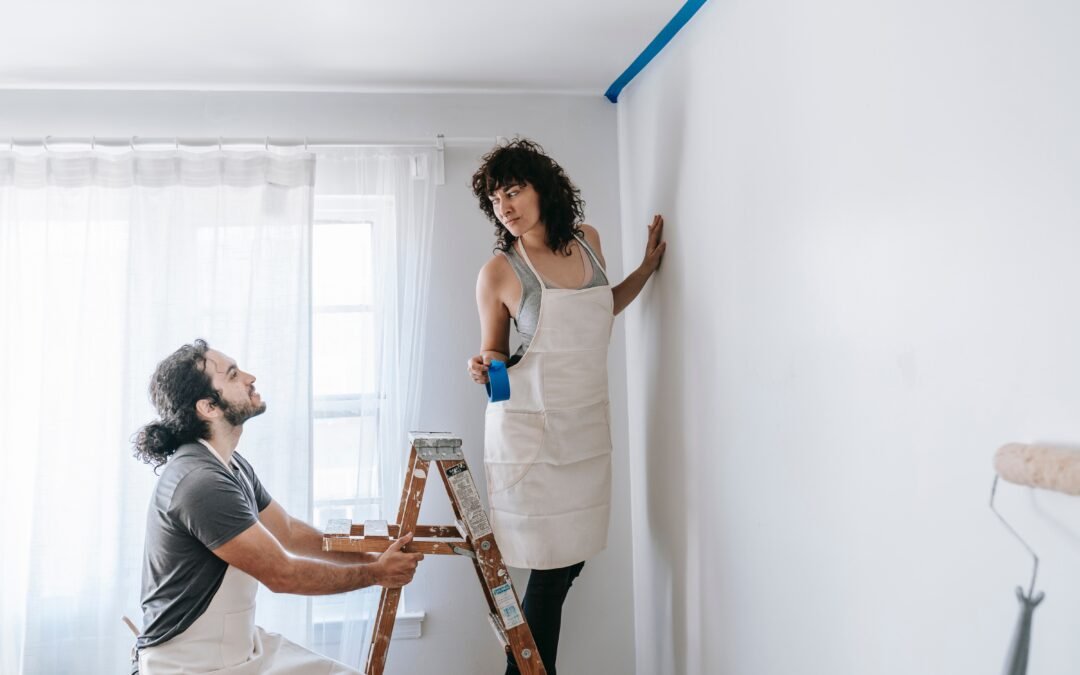
Best techniques to paint a room
Everything is set, your walls are prepped, paint mixed, brushes and roller are ready. However, you’ll need to have a strategy before you get started. A good pro painting tip is to always start from the top of the room down, beginning with the ceiling. This will give your space a uniform and truly professional look and feel. In case you plan to have a bold hue on your accent walls, start with the adjoining light color walls. Don’t panic if you get paint on your accent wall. Your bold hue color will cover up whatever spills over.
Wait for the lighter walls to dry up, and tape off the edges to prevent the dark color from bleeding onto your new paint. A rule of thumb covering darker walls with a brighter hue is to plan on having three coats of paint; The primer, followed by two coats of your new color. This process will prevent any old color from showing through.
Ventilation is crucial
As mentioned above, it is essential to clear your room to prevent damaging your art and furniture and give enough space for the drying process. Throughout the painting process, ensure all your windows are open. If you have a fan, use it too. Keeping the fan blowing and your room warm helps fasten drying.
Cleaning up after painting
After you are done painting all the coats, and you are satisfied with the shade and feel, your work is not yet over. You’ll need to remove the painters’ tape, gather drop cloths, and ensure any splatter and spills have dried before you remove them. In case you are using latex and water-based paints, clean your brushes with soap and water. For oil-based paints, you’ll need mineral spirits.
Give your painting project enough time
The amount of time you will spend working on your painting project will depend on the room’s size, skill level, and technique. For example, if you plan to use a bolder hue on the walls and paint the ceiling and trim, it will take longer than having your walls in neutral. It is also possible to complete some spaces in a few hours. Others might need several days. A rule of thumb is to budget for more time than you think to avoid hurrying through the project when you feel you are lagging.


Recent Comments